Skip to content
Facebook logo
Flippin' Guitars logo
Reverb logo
Home What We Do Gallery Contact About

Replacing Flex Cables on Parker Guitars (more)

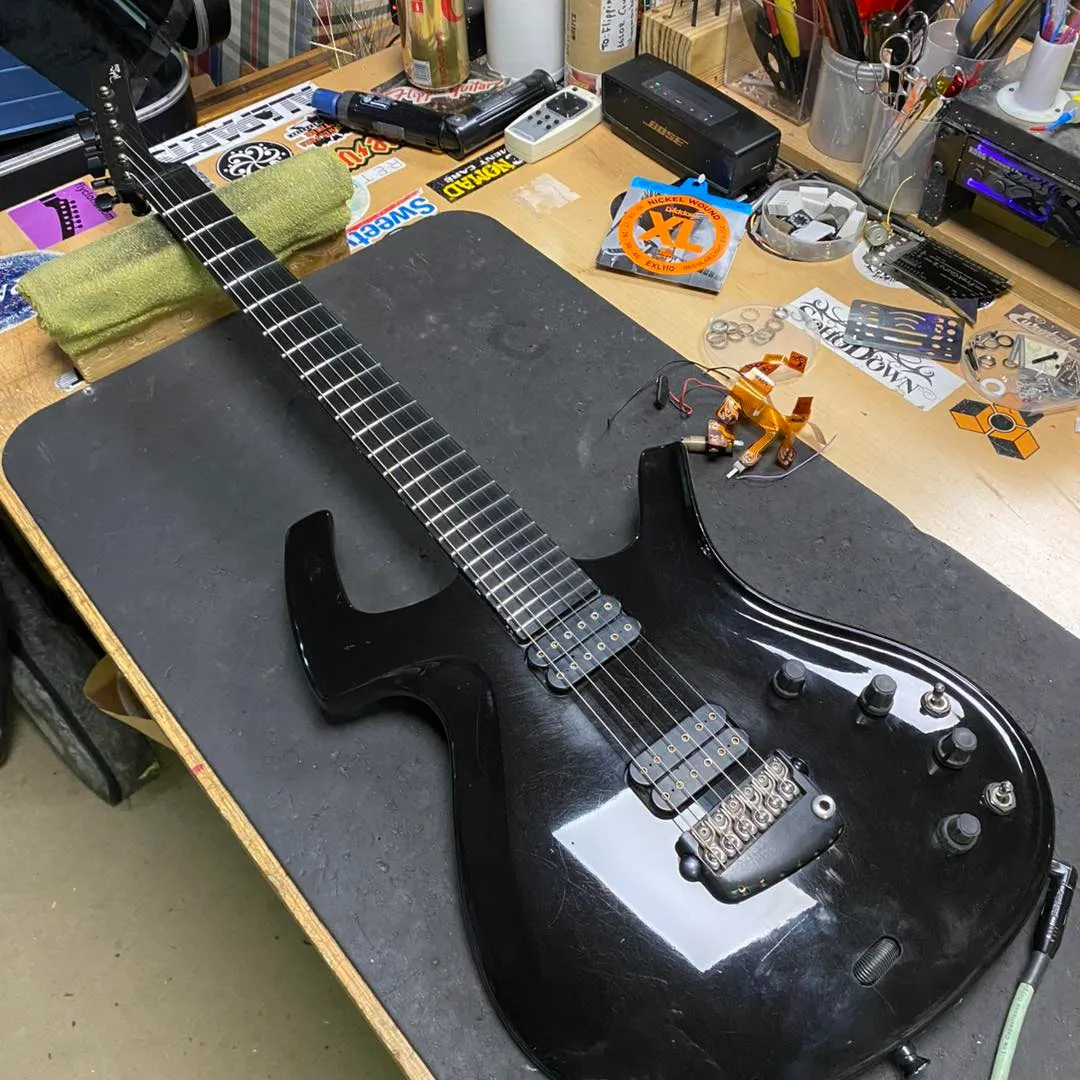
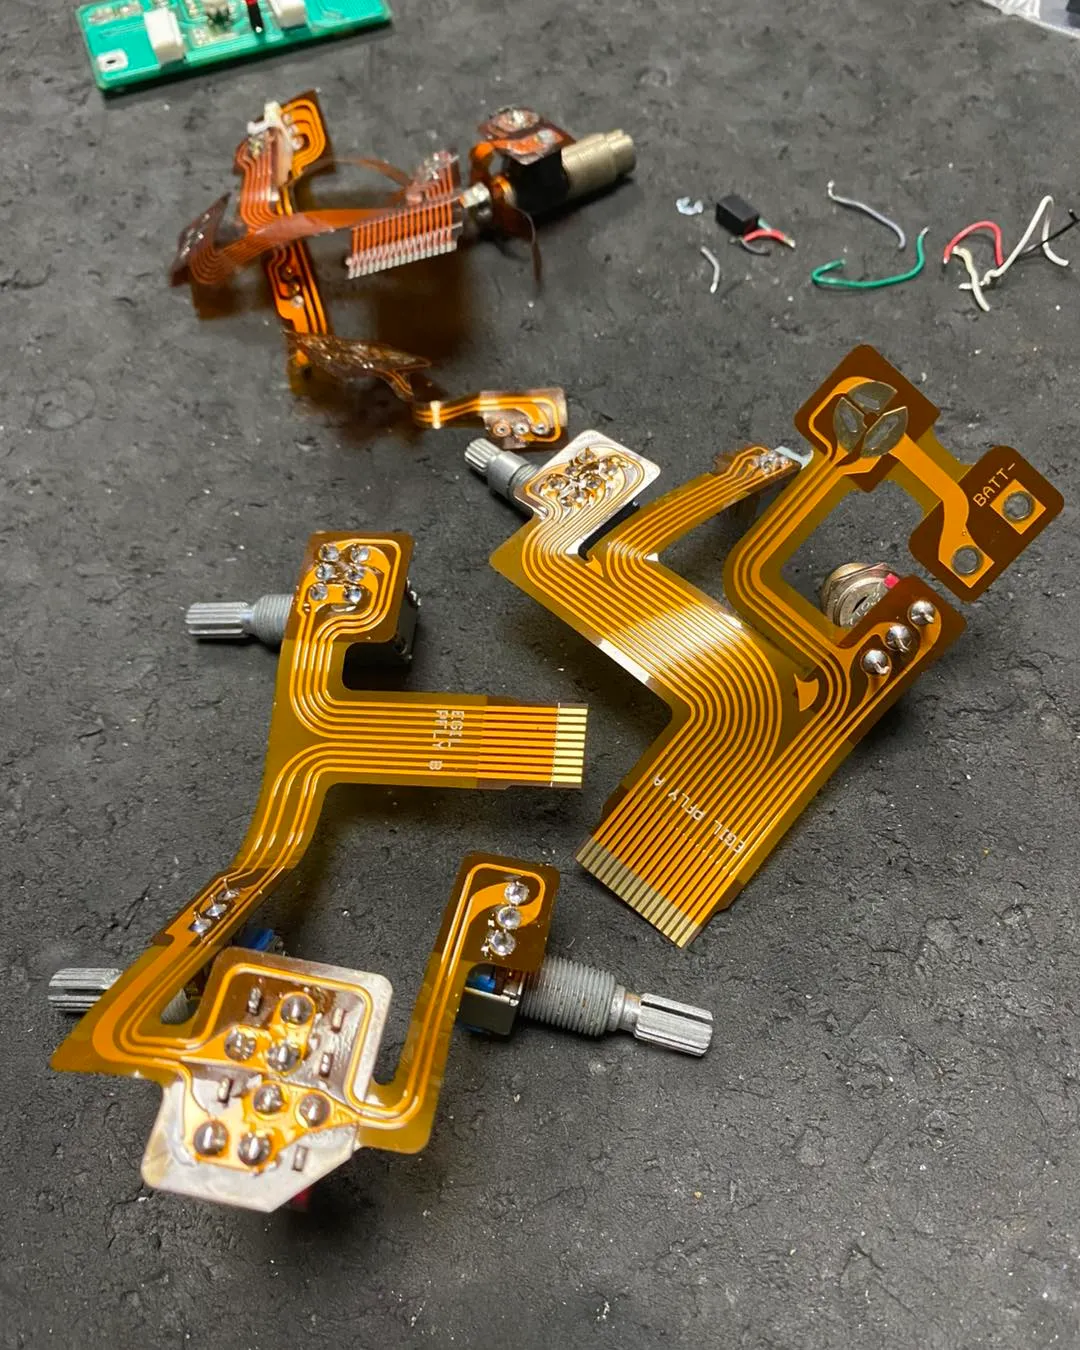
Black Parker Fly on the workbench with removed orange flex-circuit parts beside it.
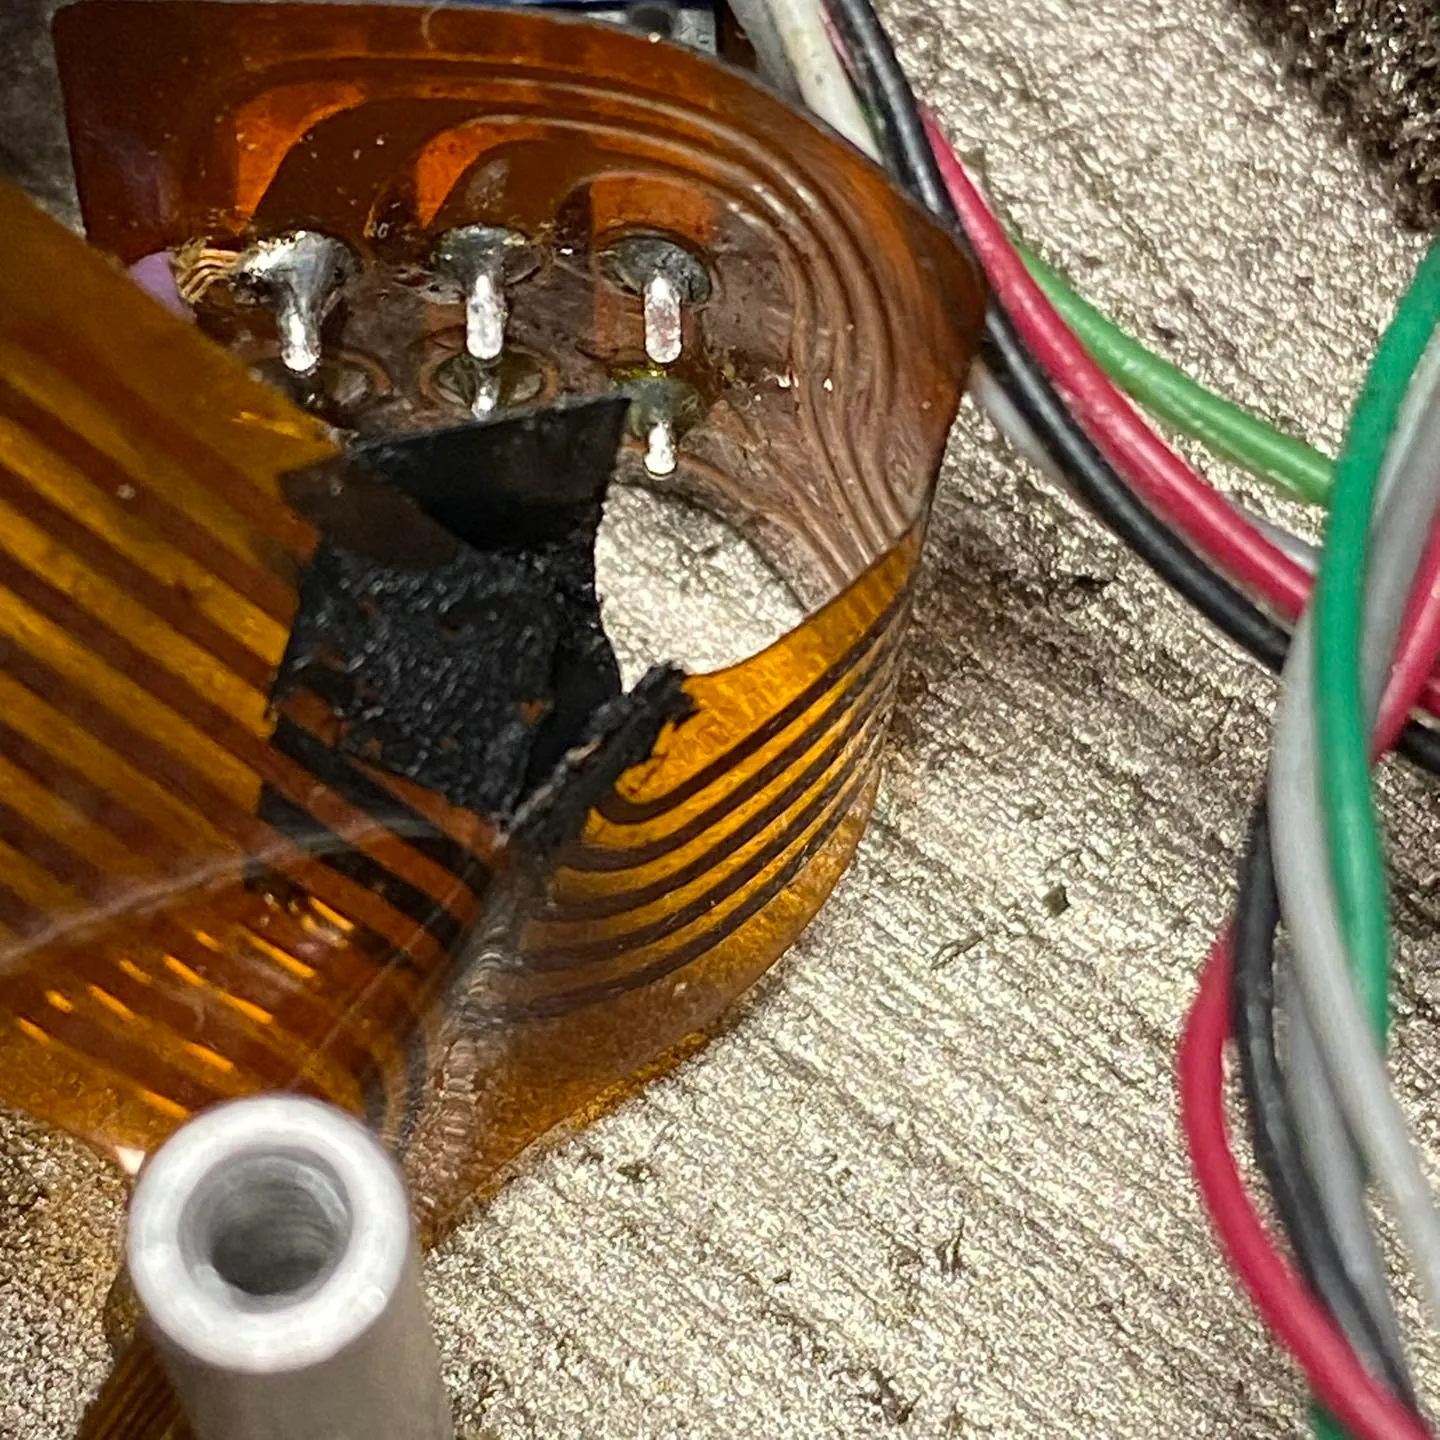
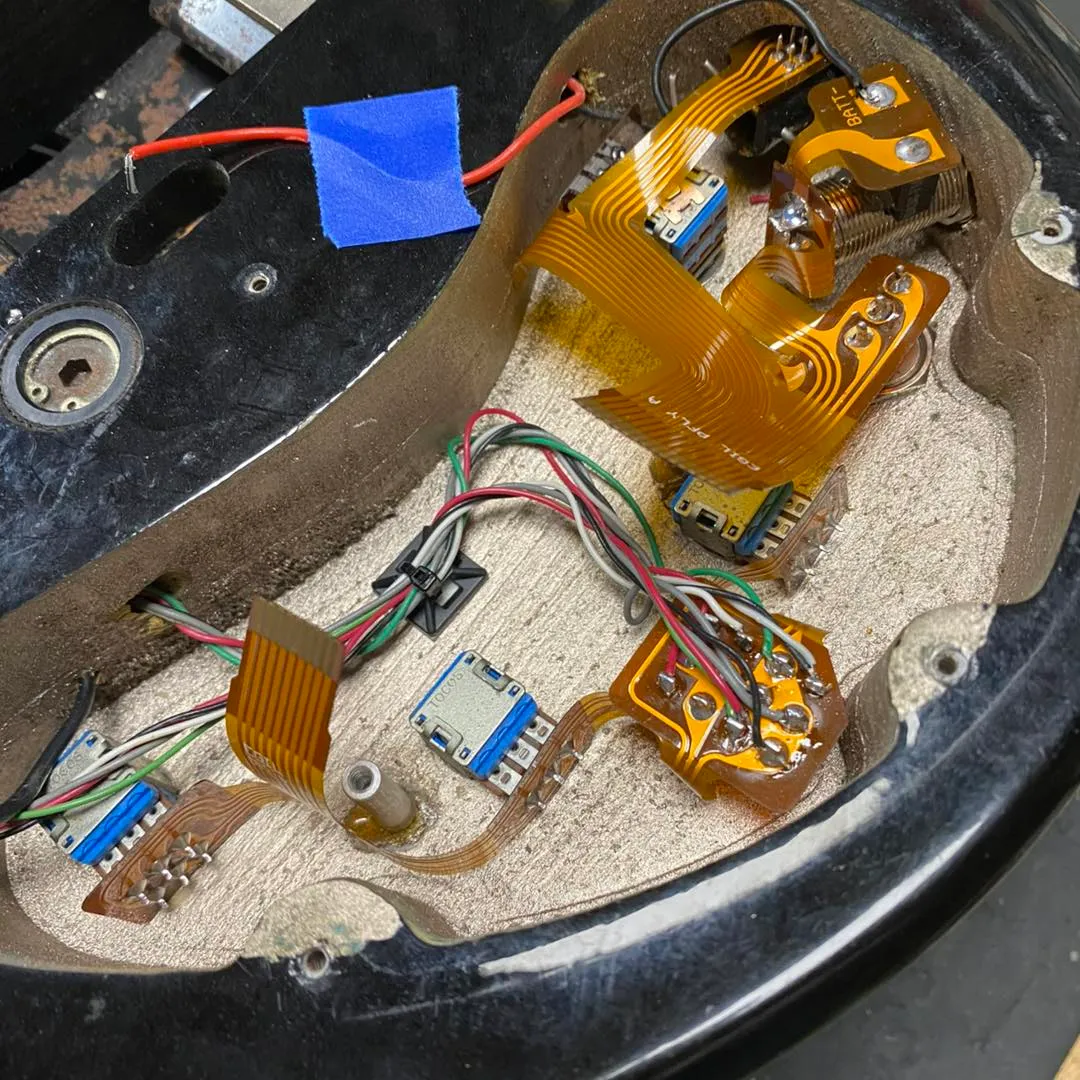
Close-up of an orange flex cable and solder terminals inside the control cavity.
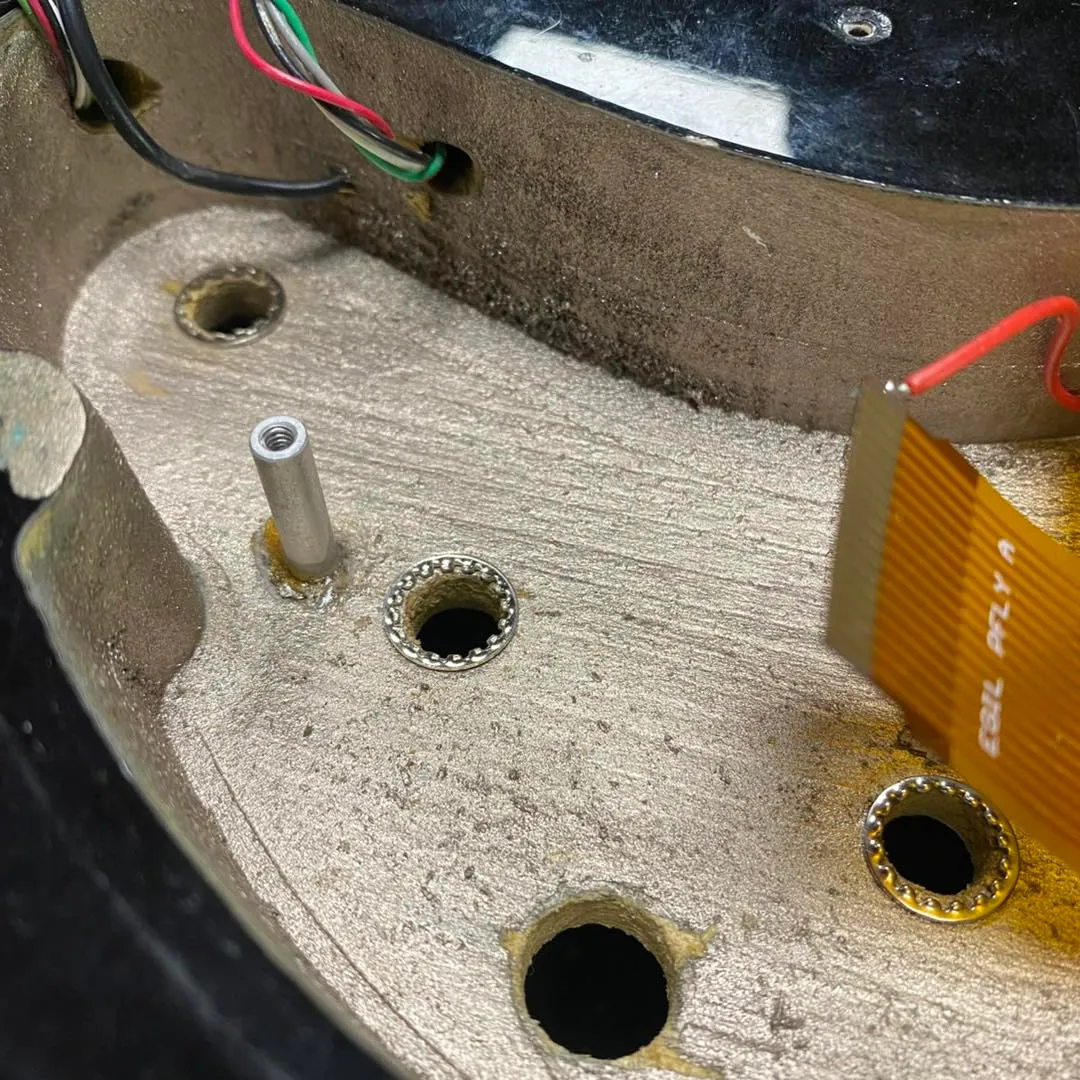
Mostly empty control cavity showing shielding, mounting holes, and the end of an orange ribbon cable.
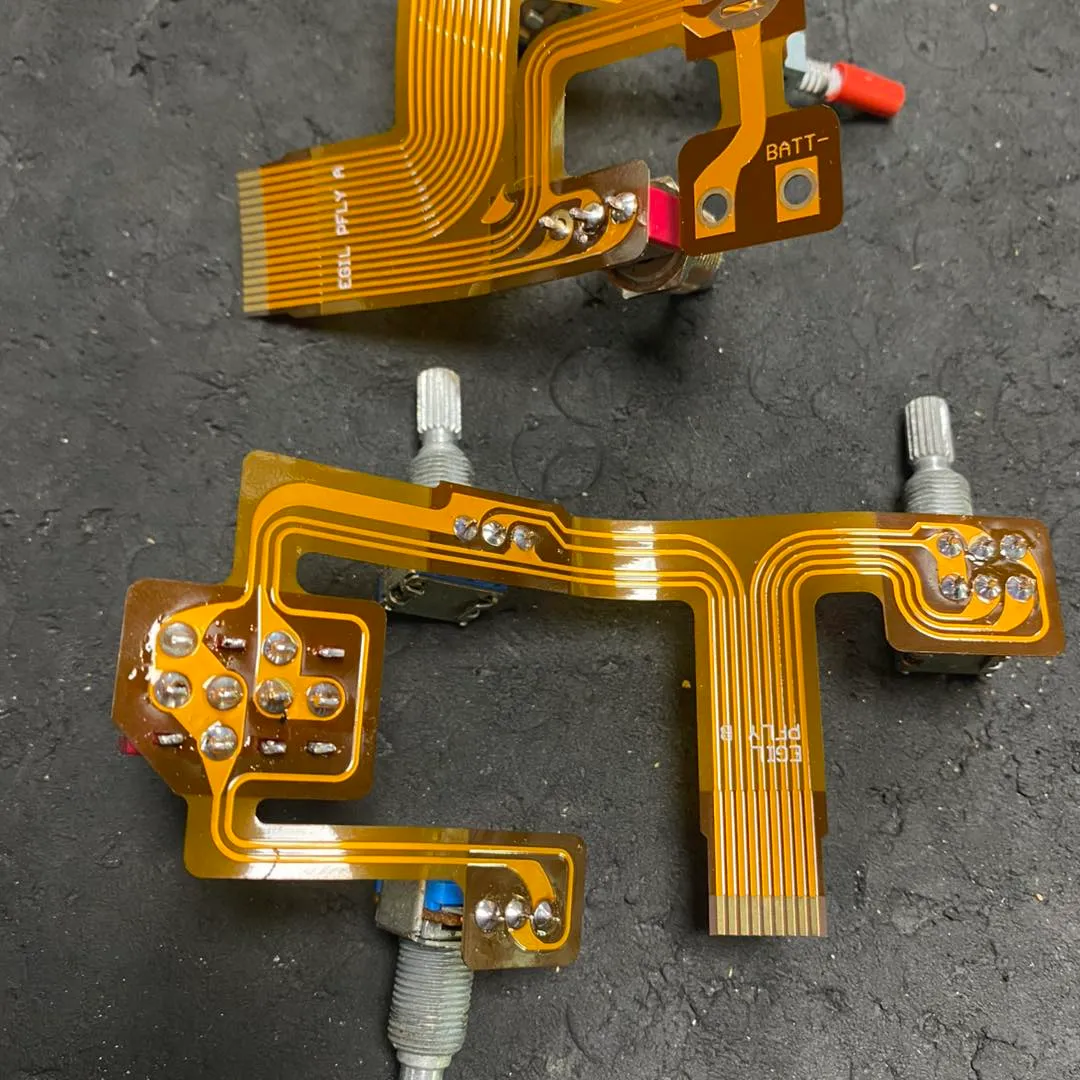
Two orange flex-circuit assemblies with control pots laid side by side on the work mat.
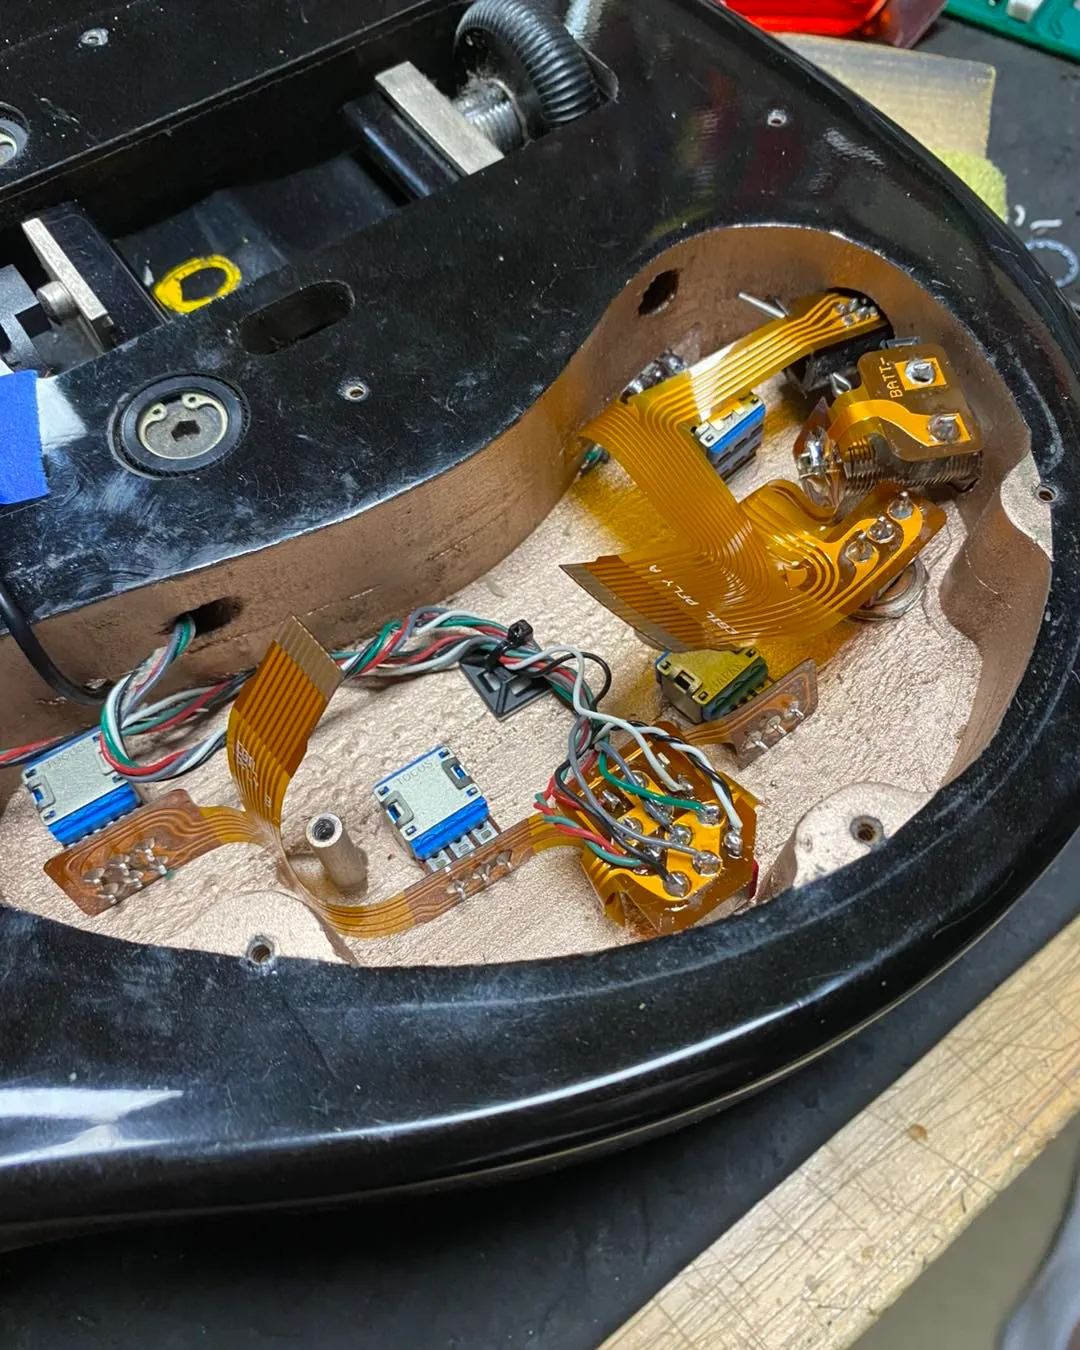
Orange flex circuits positioned in the rear cavity, with a red lead held aside by blue tape.
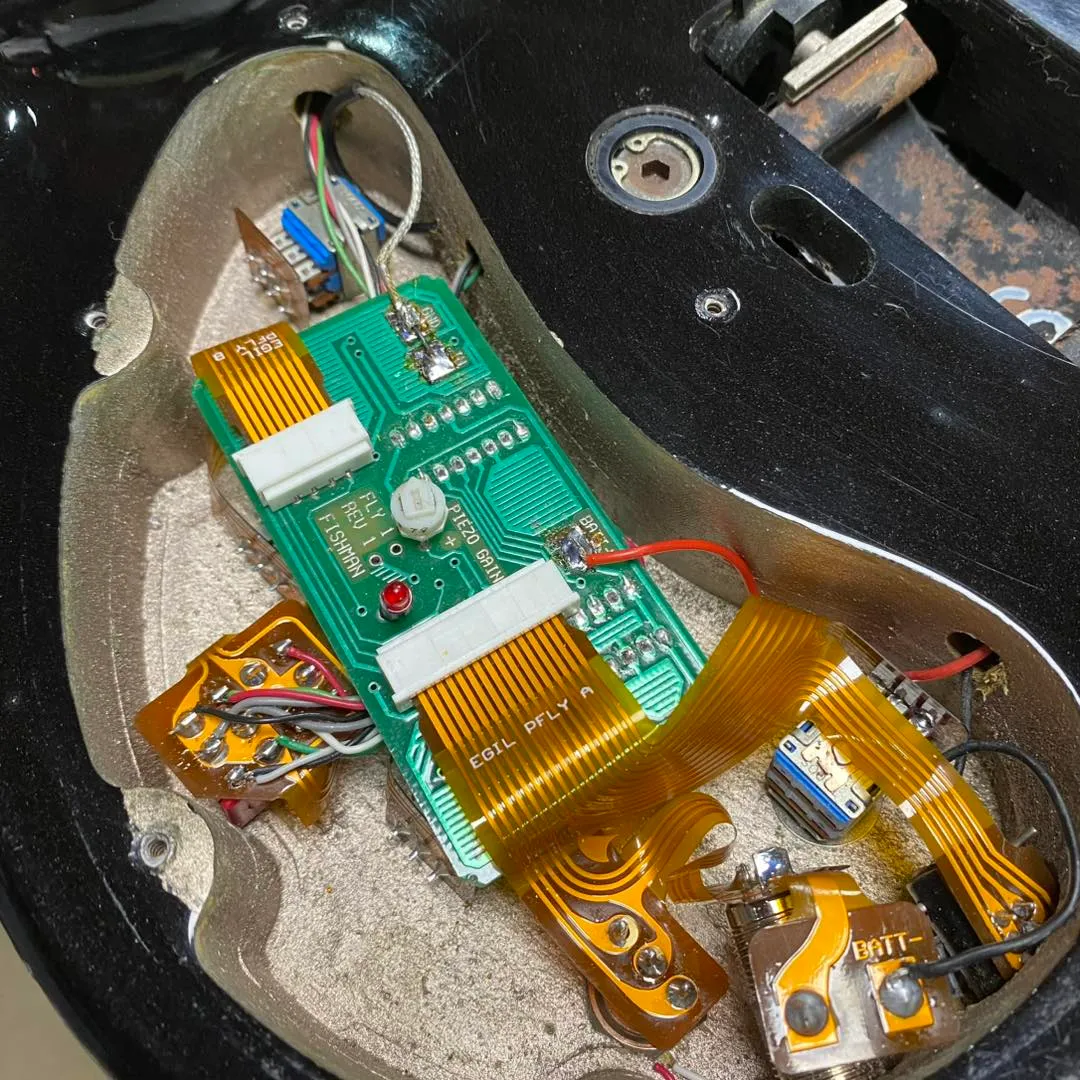
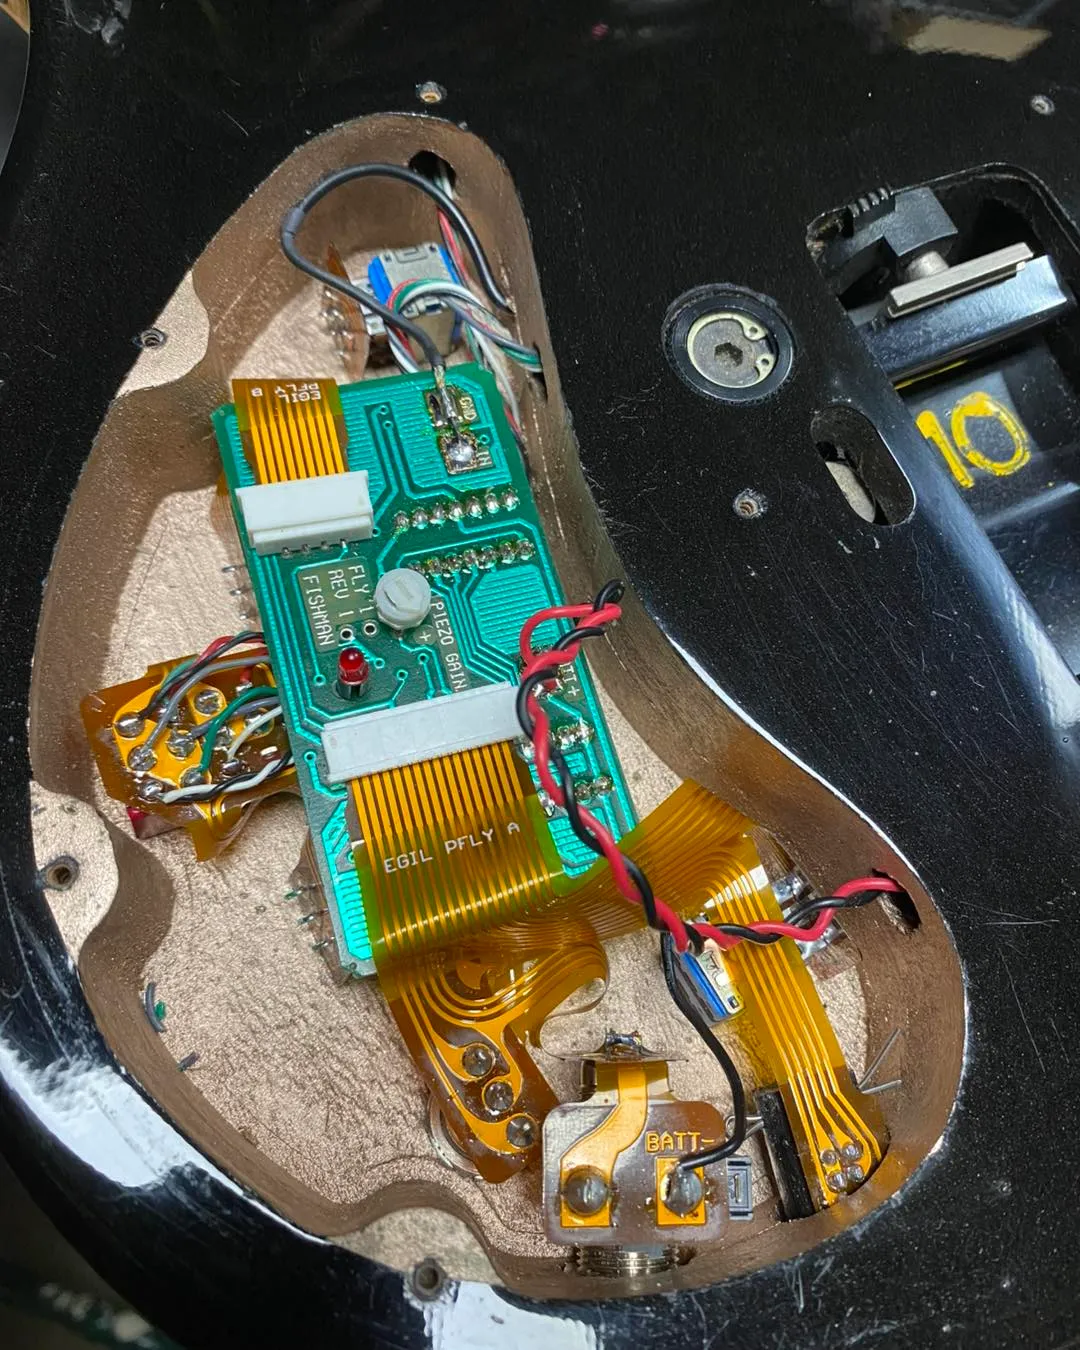
Green circuit board connected to orange ribbon cables above the control pots in the rear cavity.
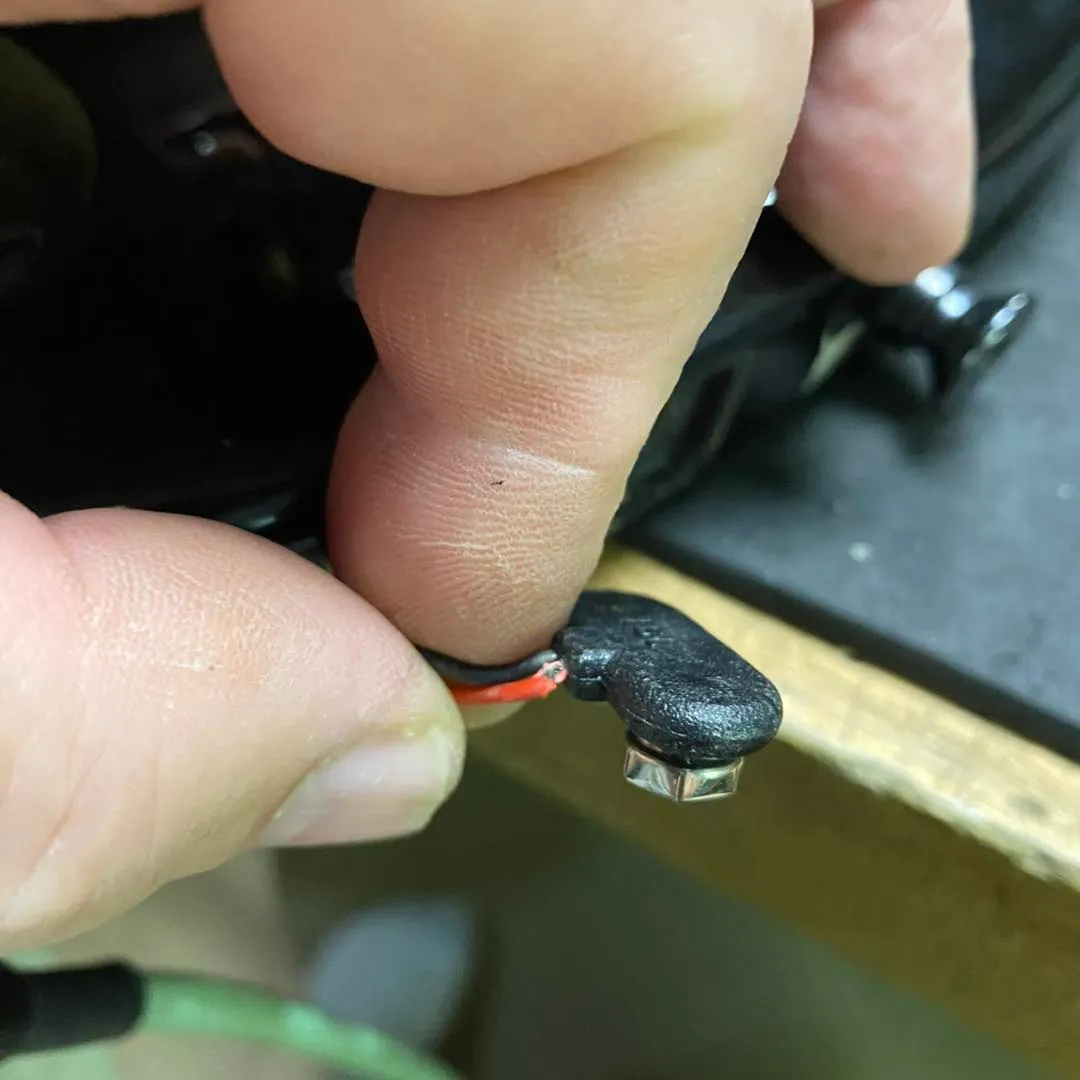
Fingers holding a small black-coated wired component removed from the guitar.
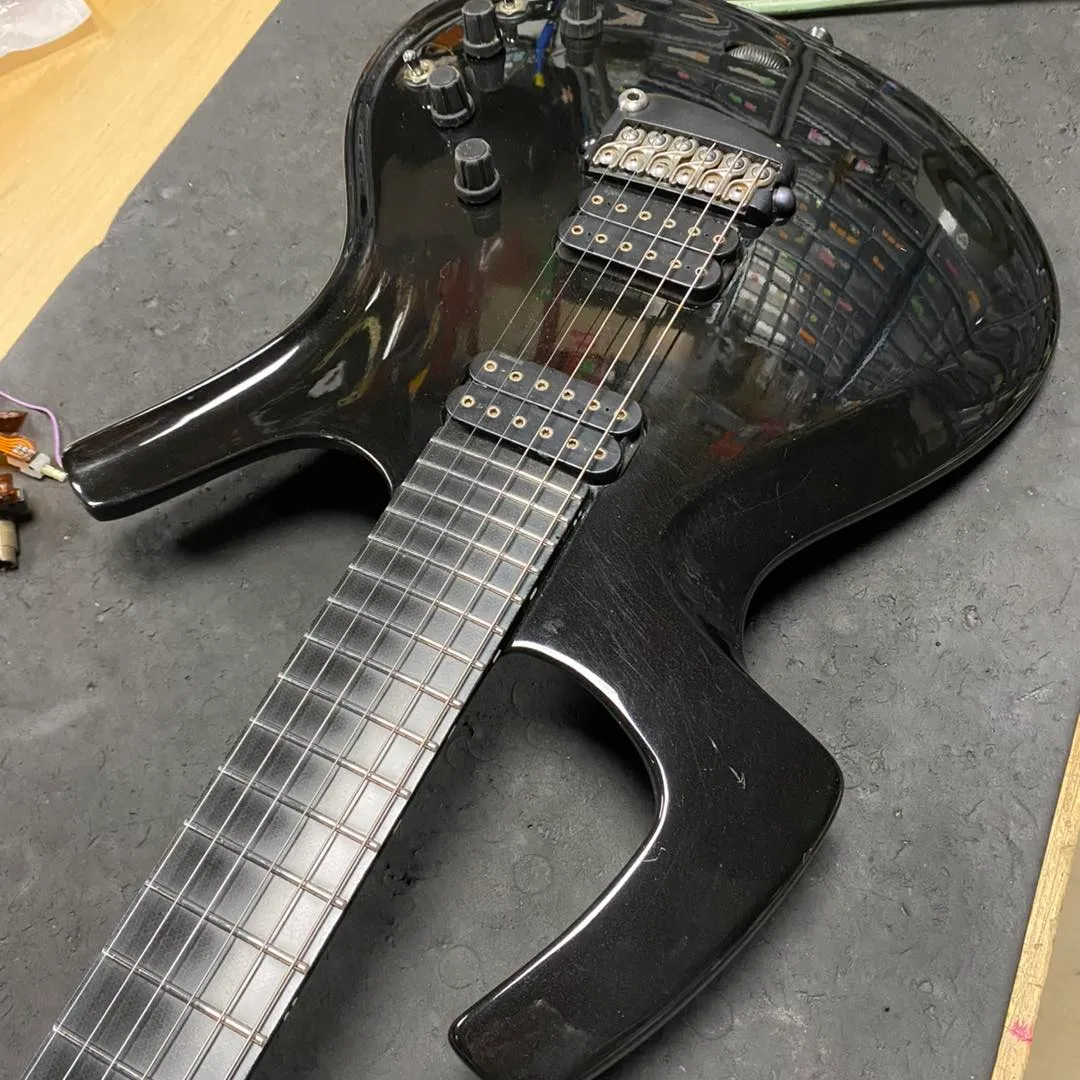
Angled view along the neck of the assembled black Parker Fly, showing its pickups and bridge.
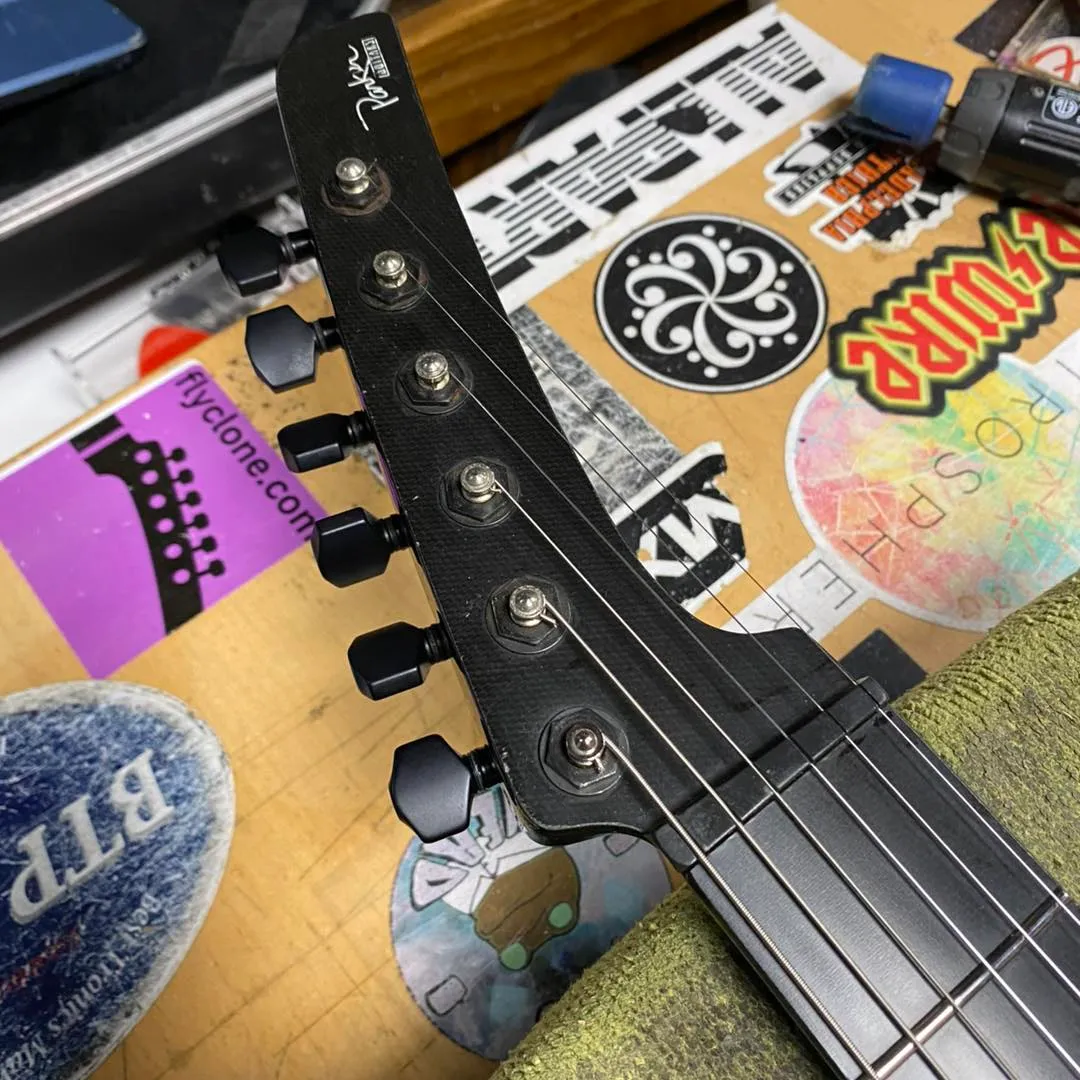
Close-up of the black guitar's Parker Fly headstock and tuning machines on the workbench.
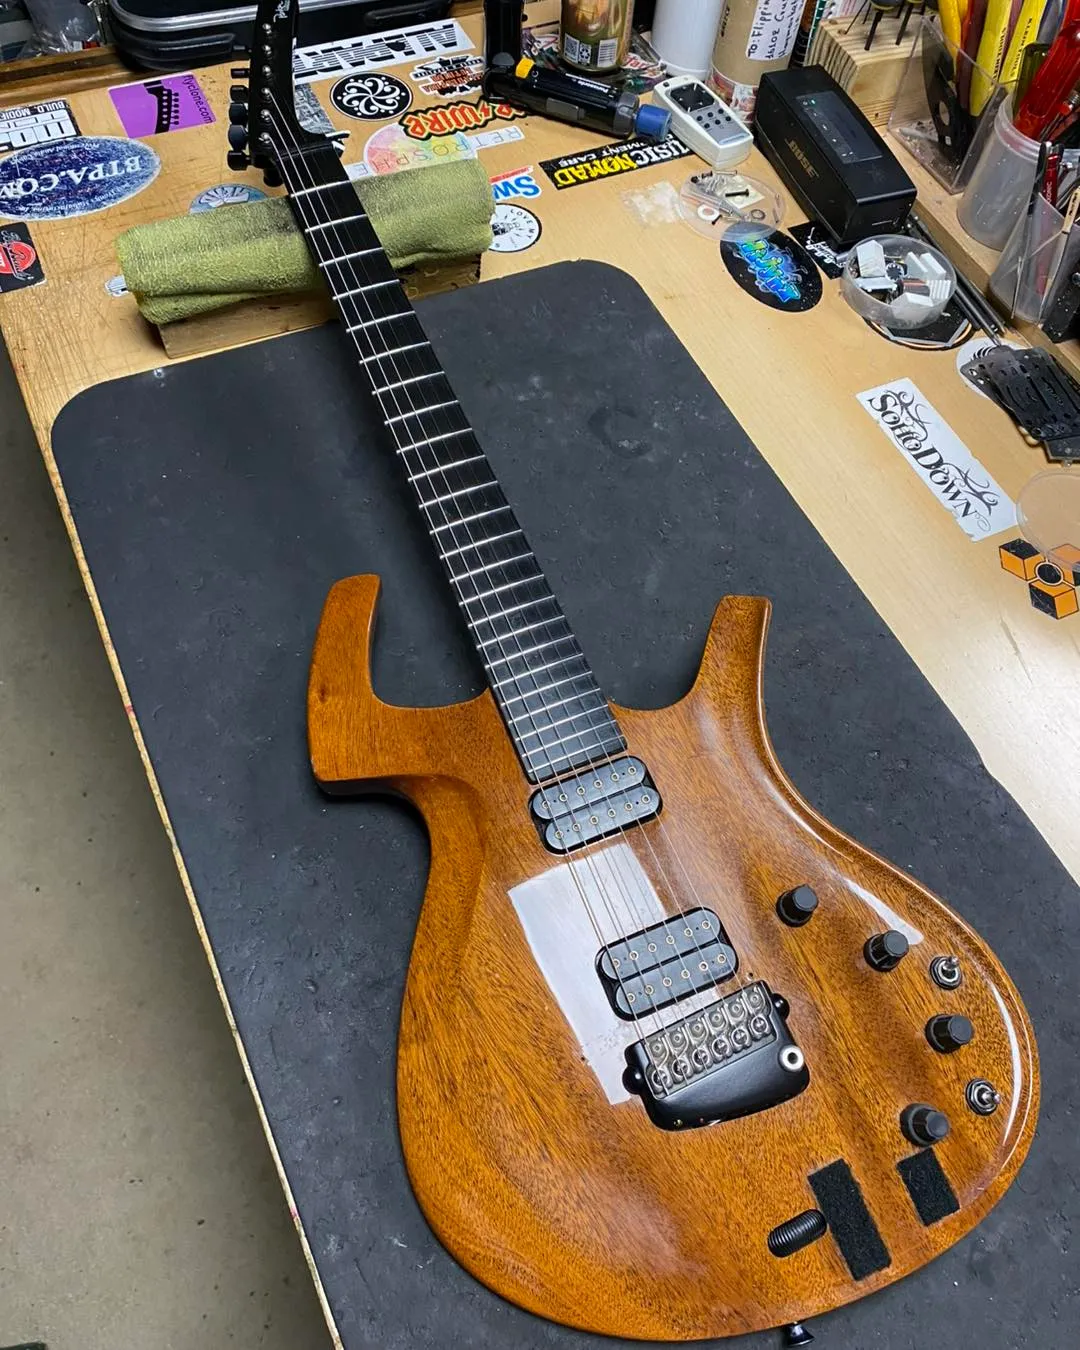
Natural-finish Parker Fly on the workbench with two pickups and black controls, shown in full.
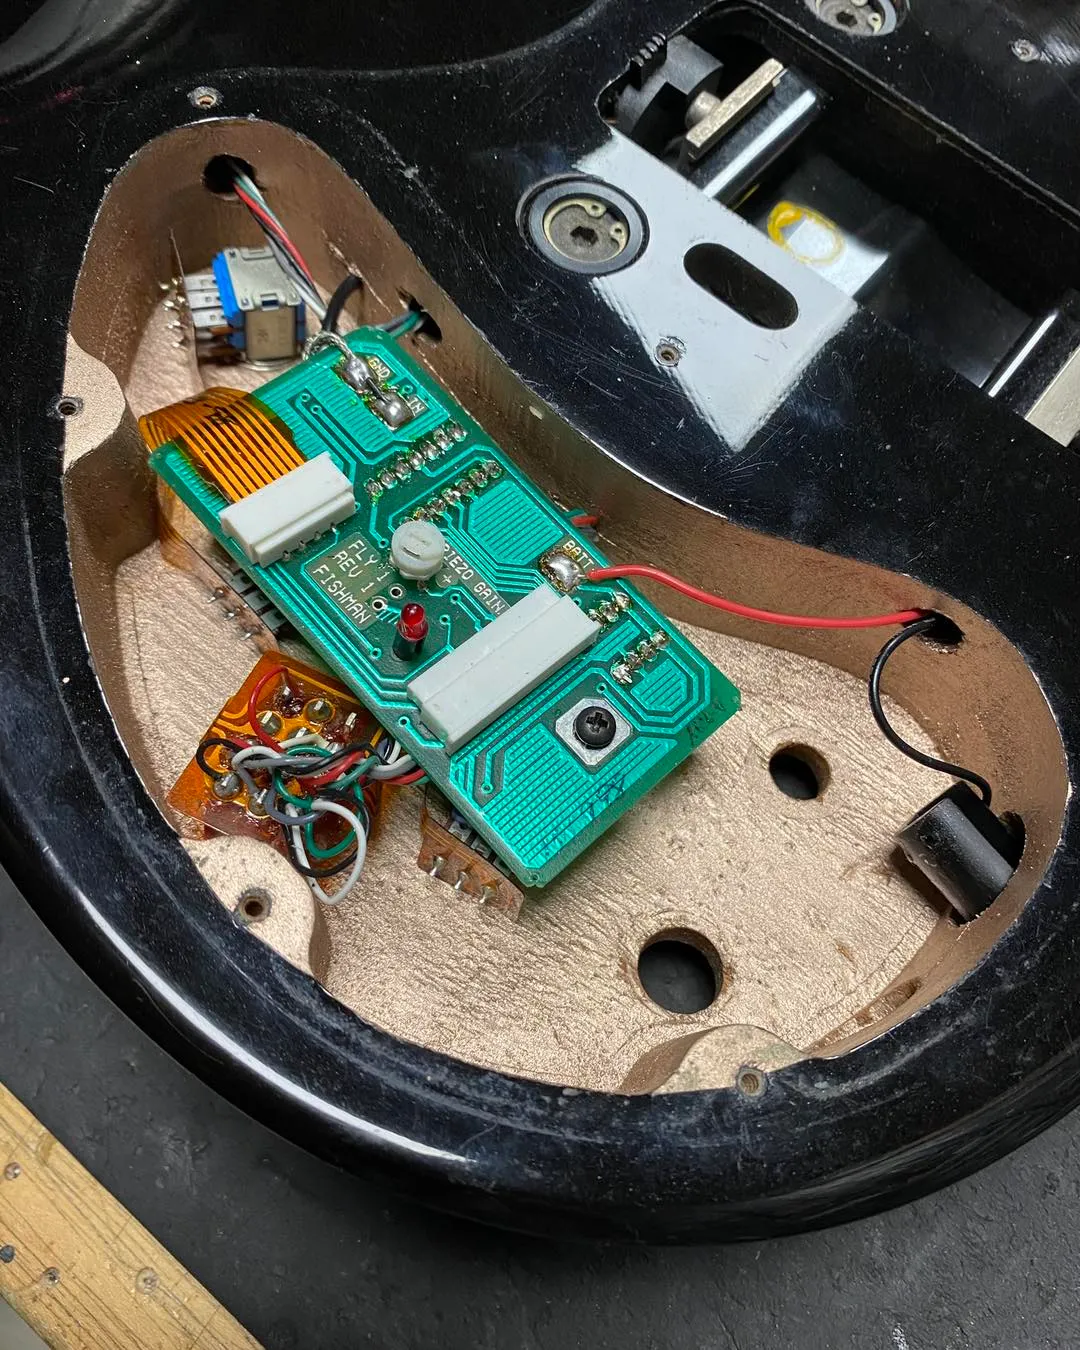
Rear control cavity with a green circuit board, orange ribbon cables, and loose leads.
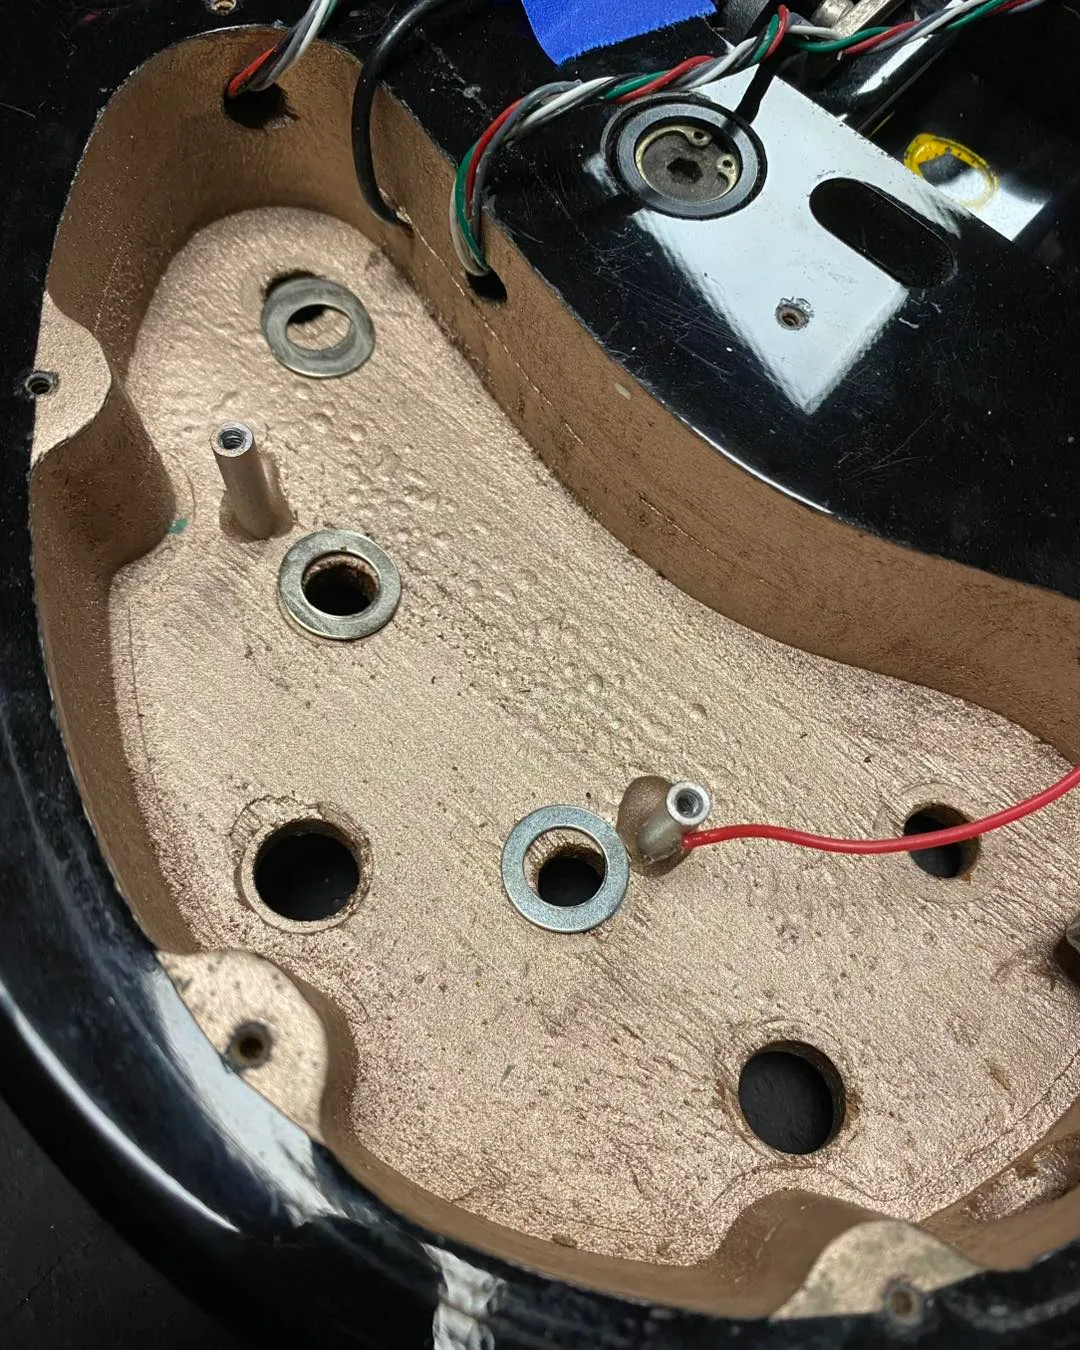
Emptied rear cavity showing control holes, mounting posts, and a red wire across the shielding.
Flex cables and control pots laid out on the bench, with small loose components nearby.
Angled view of the open cavity with orange flex circuits and pots installed beneath the board position.
Green circuit board fitted over the flex-circuit assembly, with ribbon cables connected at both ends.
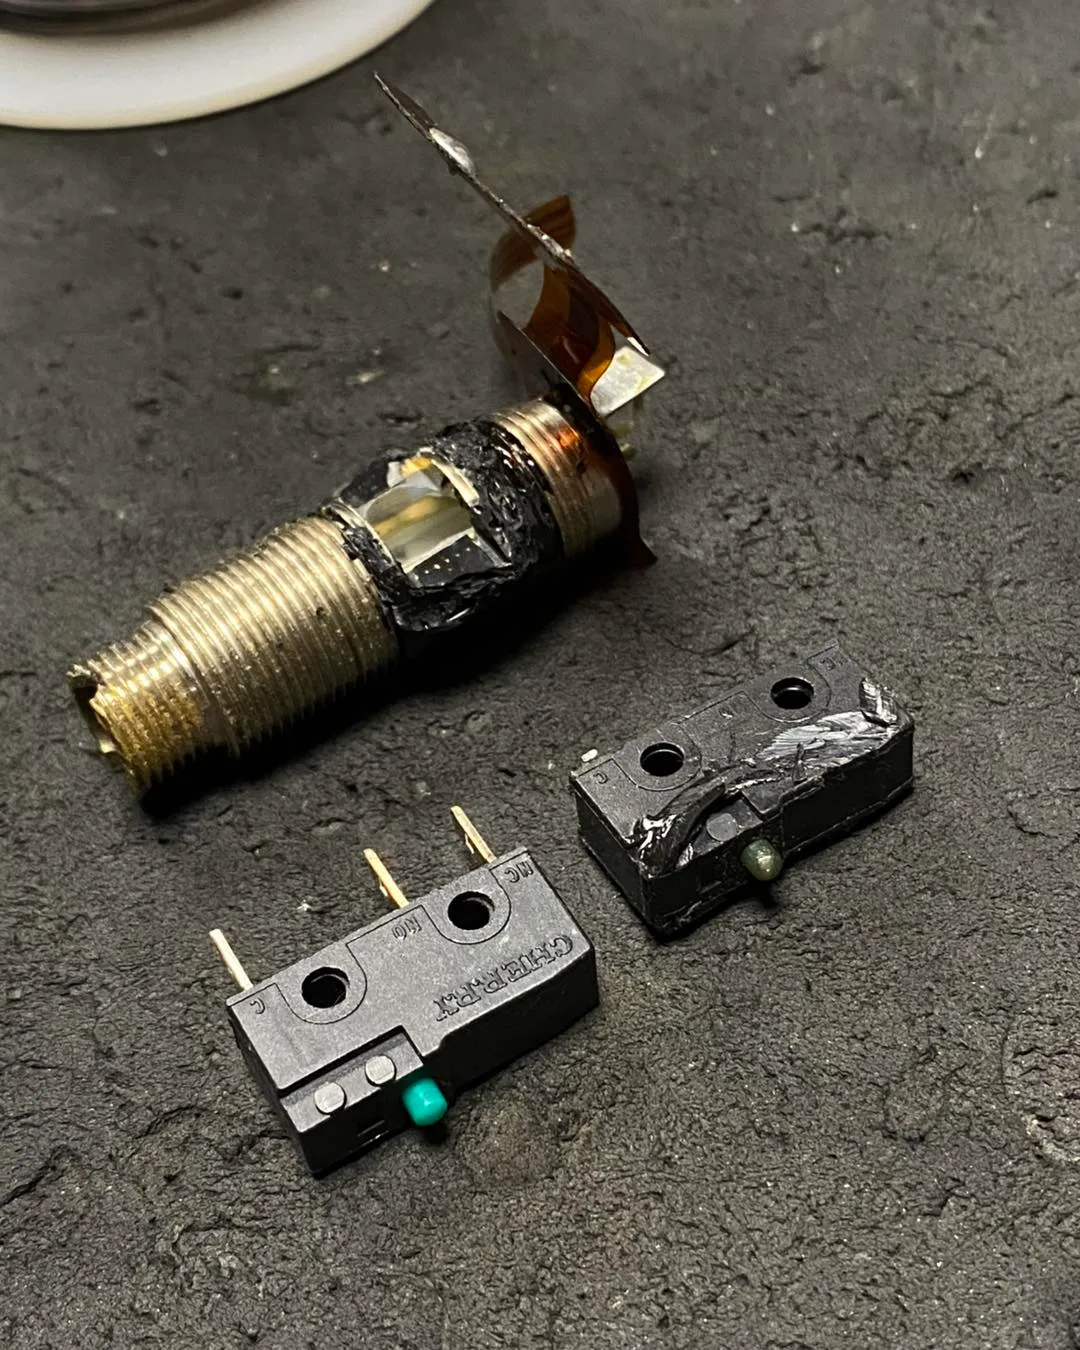
Removed output jack and two small switches laid out separately on the work mat.
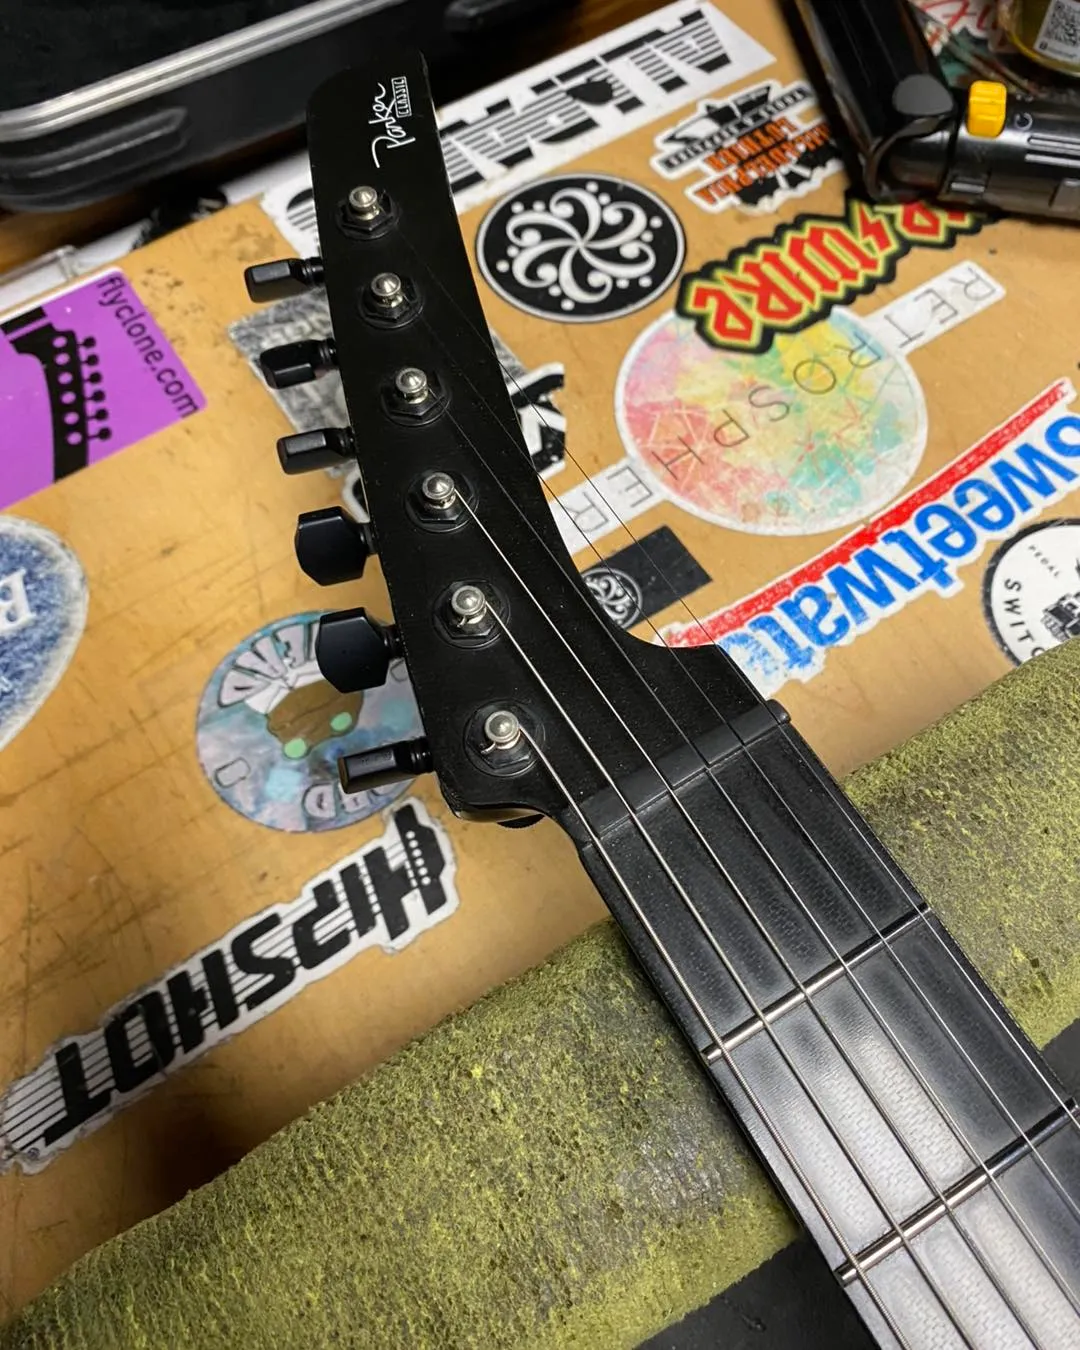
Black Parker Fly headstock of the natural-finish guitar, viewed along the fretboard.
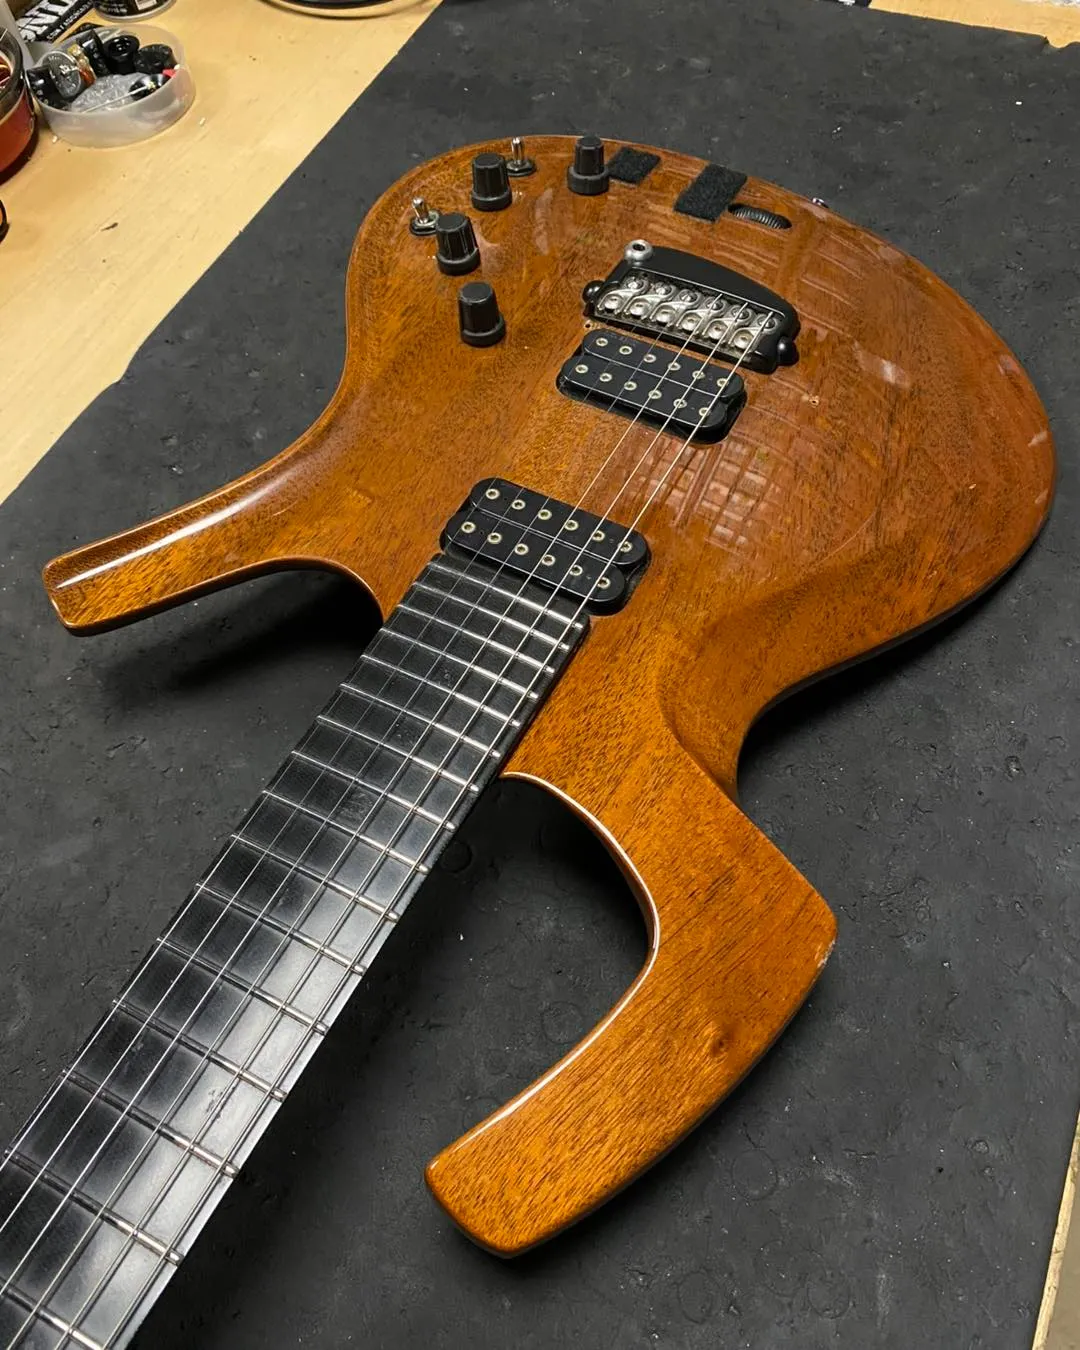
Angled close-up of the assembled natural-finish body, pickups, bridge, and black control knobs.

Copyright © Flippin' Guitars 2025 | Website by mFormant Consulting Copyright © Flippin' Guitars 2025